Wednesday, 15 January 2014

New Nail Stuff!


Why hello there, readers! I decided to share some lovely new nail goodies with you all this week. Next post will be another design though - be patient! Anyway, first up are my new Models Own Nail Art pens in black and white. My nail pen collection was in desperate need of a restock, and as I've heard such rave reviews about these particular ones, I'm expecting great designs from them. I'll let you know what I think! 


The other little addition to my rather extensive collection of all things nails is this fabulous glitter kit that was kindly given to me free when I purchased the pens. And you never say no to free nail supplies! I don't normally use glitter much just as it takes so long to remove, but I'm still looking forward to trying this kit out. Also, the kit even comes with a really pretty pink polish - named 'Dinky Pinky' - which is always useful too! Check back soon for my next design :)

Georgie

Monday, 6 January 2014

Eyeballs


Happy New Year, folks! Wow, I can't quite believe that 2014 is well and truly here. Hope it's a good one for all of you. Anyway, welcome to my first post - and design - of 2014. I thought it was a little appropriate as quite a few people may have woken up after New Year's Eve with their eyes looking something like this. Some of you who might still be partying six days later may still have eyes like this. So, here's how to create the design yourself; start with a white base colour. Next, use a blue Nail Art pen to draw the iris (but feel free to use green, brown, purple etc.), and keep your hand steady in order to get a neat circle. Once this has dried completely, use a black Nail Art pen to draw the pupil over the top. After that part is dry, pop a tiny white dot over the pupil for the reflection spot - but make sure that the pen nib itself doesn't touch the nail. Finally, take your red Nail Art pen to draw blood vessels around the edge, working from the outside inwards. And there you have it! Give them a go, and keep watching for more designs to follow :)

Georgie

Saturday, 21 December 2013

Pow!

 
Hey there, nail lovers! After all those Christmas nails, I was quite excited to showcase my latest design. It's another one inspired by Wah Nails, and I've got to admit I was quite pleased with my first attempt. It's a little bit superhero, a little bit Roy Lichtenstein. Whichever way you want to look at it, I'll tell you how to do it so you too can unleash some comic book love onto your nails. But be warned - it takes a while...
 
First, paint each of your nails a different colour - as we're dealing with a pop art inspired creation, the brighter the better. For the record, I used Avon Nailwear in 'Viva Pink', 'Real Red', 'Sunshine', 'Rapid Black' and Barry M in 'Spring Green'. Then, using a very fine Nail Brush, paint a white zigzag line about half way down the nail plate. Then, fill this in with white to create an 'explosion' (it's a little fiddly but you can clean up any excess varnish later). Oh, and filling in the white takes a while, so make sure you've got something to do while you wait! Once that's all dried, use a black Nail Art pen to write any comic book related words like POW!, BAM! and CRASH! in the explosion. Next, outline your explosions with the black Nail Art pen again. Finally, use a white Nail Art pen to draw white polka dots across the coloured part of the nail. Then, you can relax - because it's finished!
 
Georgie
 

Wednesday, 18 December 2013

On the twelfth day of Christmas...Mistletoe

 
Well hello again! Yep, this final festive design completes my Twelve Days of Christmas Nails, and it only took almost an extra week to finish...woops. Moving on from that, I'll tell you how to get this Mistletoe design on your nails. Begin by painting your nails a festive colour (though not a dark one - my design features No 7 Nail Colour in 'Salsa'), and wait to dry. Then, using a very fine Nail Brush, paint three long strokes of green for the mistletoe leaves, and once these have dried, two smaller ones at the top of the bunch. After all of this has dried as well, finish by using a Nail Art pen to draw about three white dots in between the two shorter leaves for the berries. And that's all there is to it! Hope you've enjoyed browsing through all my Christmassy nails, and perhaps had a go at trying them out yourself. I'll be back soon with more weird and wonderful designs, so as always, watch this space! Thanks for looking, oh and Merry Christmas!
 
Georgie

On the eleventh day of Christmas...Christmas Trees

 
Hello, readers! Right, penultimate festive design...and it sure was fun to create. It's not quite as self-explanatory as the previous design, so here's how to do it; firstly, paint your nails White (this is just to make the trees stand out a little bit more). Next, using a very fine Nail Brush, paint a green outline of a tree - it should look a little bit like an arrow. Once these are done, use the brush again to fill in the trees with a series of thin brush strokes. Now, in order to do the next step, the trees must be completely dry. This takes a little while, so I suggest you go find something to do while you wait (I chose to carry on reading some more of Kazuo Ishiguro's Never Let Me Go, if you need some inspiration). So, once they're dry, use a Nail Art pen to draw a couple of red dots on the trees for baubles. Then, use a very fine Nail Brush to paint a tiny brown square for the tree stumps. Lastly, using a very fine Nail Brush again, paint a gold star on the tops of the trees. Finished! Check back soon for my final festive post...
 
Georgie

Monday, 16 December 2013

On the tenth day of Christmas...Simply Festive

 
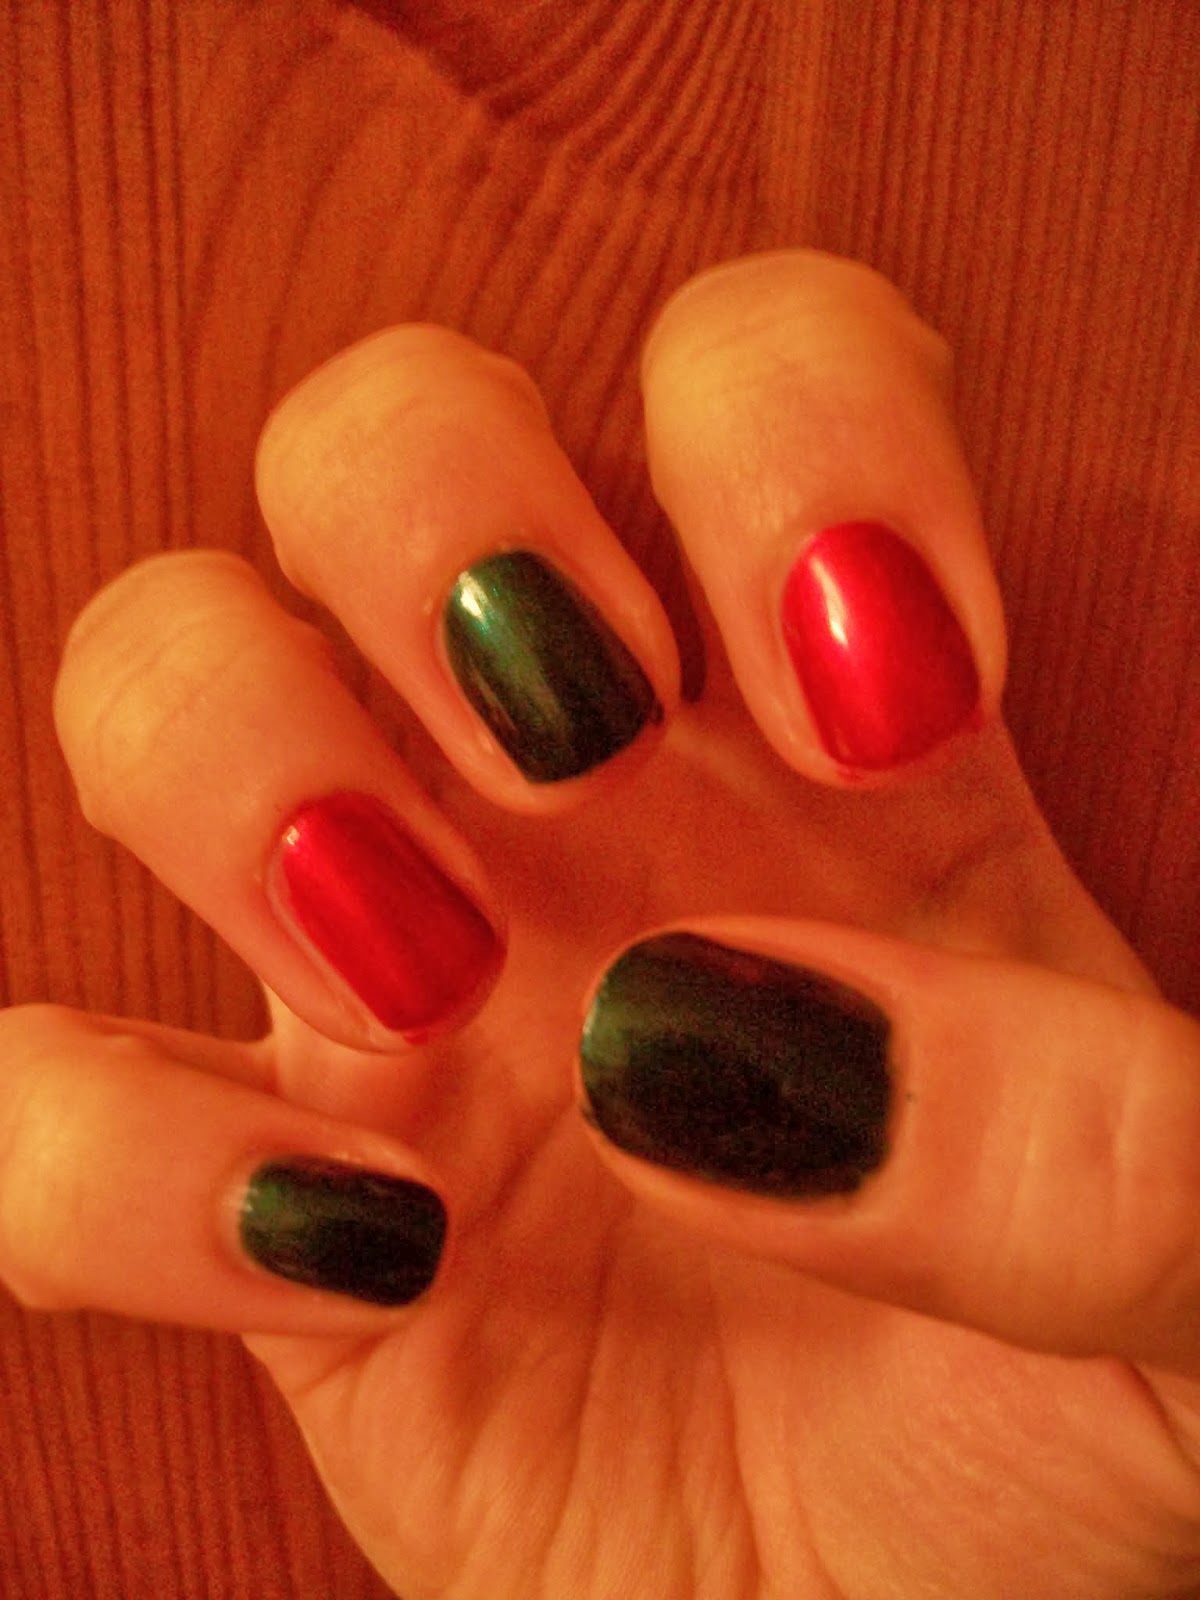
Good evening all, long time no see! What can I say other than sorry? My life is a busy one, and apparently it has become even busier during this festive blogging period, so I have unfortunately brought this next post to you almost a week late. Well, it's better than bringing it to you in April or whatever...anyway, moving swiftly on. This really is the quickest, easiest festive design so far - but I thought it was about time I settled for something so simple as just painting, with no tricky time consuming art involved. They're quite simply, just festive coloured nails. I used Avon Nailwear in 'Noir Emerald', and my new bottle of No 7 Nail Colour in 'Salsa'. The fastest way to inject some Christmas spirit onto your nails. Enjoy!
 
Georgie

Monday, 9 December 2013

On the ninth day of Christmas...Santa Hats


Hello, folks! Told you I'd get back on track with a festive post each day! I can relax now ;) So, alongside decorating your Christmas trees and switching on your fairy lights, some of you may be digging out your Santa hats. I haven't got a clue where mine is, so until that turns up, I've settled for Santa hats on my nails instead. Just paint a red triangle shape starting from the base of your nail (don't worry about it being too perfectly pointed - the white part will cover it up!) Then once dry, paint a slightly wobbly white strip across the bottom of the red. Finally, paint a white circle at the top of the hat. Lovely! Keep checking back for more festive designs!
 
Georgie