Evening, folks! No new design today, but just thought I'd let you all know some news! Yesterday my fab friend Sophie (check out her blog www.sophiesconscience.blogspot.co.uk) helped me to film my first ever Nail Art tutorial, and once we've sorted all the editing, it'll be ready to post! Yep, I'm really attempting to catch up with the world and actually get on YouTube, so keep a lookout for when that's uploaded...
Georgie

Well hey there, readers! I never made any promises about when I was going to be posting next, so I'm not going to apologize for once again committing a little bit of blog neglect - it has been over a month since my last post, after all. Anyway, I'm back again now, so no need to worry ;) I've started to look at some new places for nail inspiration - beyond my shoes, travels, etc - and so I turned to my old friend, the trusty iPod. I thought perhaps some album artwork would do the trick - and this is what I came up with. Paramore fans, you should be excited. I will admit that it's not the neatest design that I've ever done - mind you, the artwork isn't either, so I guess it doesn't matter that much...anyway, want to know how to do it? I'll tell you; First, paint your nails white. Next, take your black Nail Art pen (I used my Models Own one, which is pretty good) and, with an incredibly steady hand, write each letter of 'RIOT!' all over each nail. It's meant to look a little messy so don't stress if it's not great - mine certainly isn't! Once these are all dry, paint a small dab of white in a similar shape to each respective letter over the top - do a couple of these. Then, using a red Nail Art Pen, write each letter again once over the white. Finished! Enjoy :)
Georgie

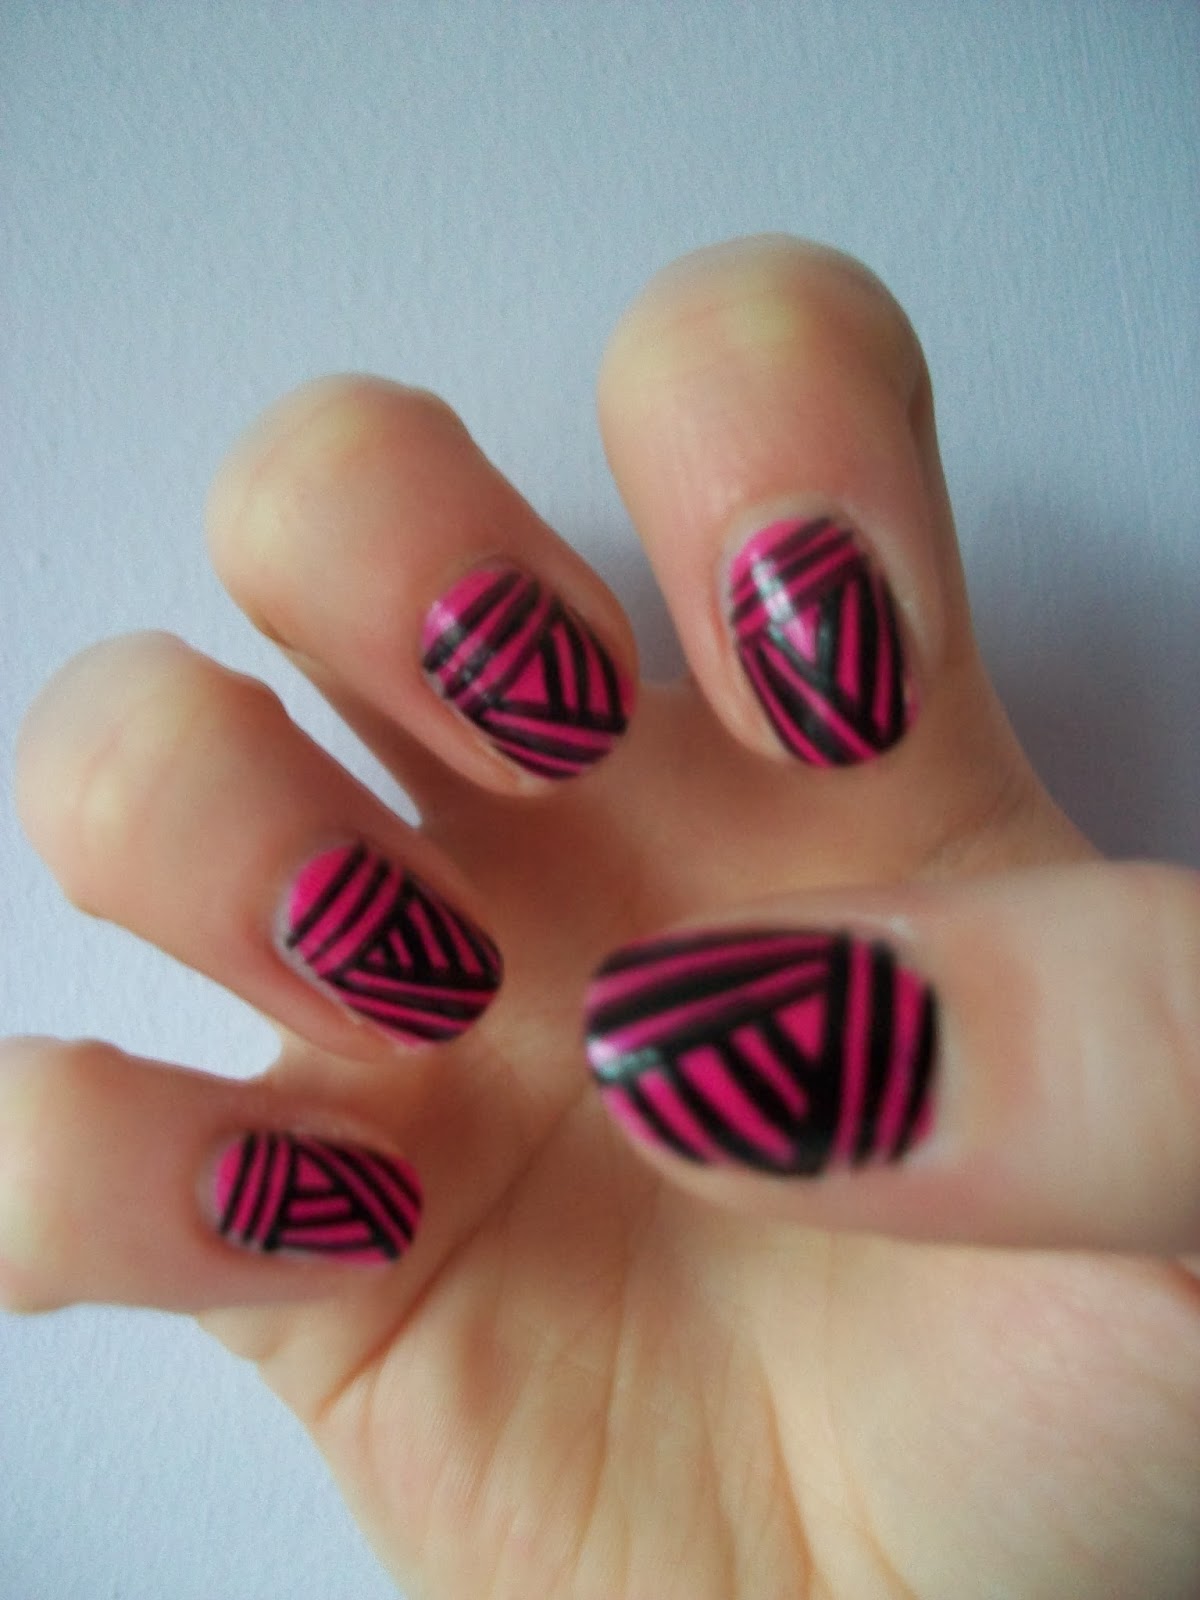
Hi there, readers! It's another attempt at a WAH Nails creation this time - 'Basketcase'. Now I don't know about you guys, but it automatically made me think of Green Day's song of the same name. Which is a much loved old favourite of mine, so this design is bringing back the nostalgia a little bit. So, this is what you need to do; paint your nails pretty much any colour you like - although I suggest you choose a relatively bright colour so that the basket weaves show up. I used my trusty Avon Nailwear in 'Viva Pink'. Next, using your black Nail art pen, start at the base of the nail and paint a slightly diagonal line from the left to the right side. Do three of these. Once dried, create three more lines but from the tip of the nail and at an almost right angle to the first set. Finally, paint three more lines in the gap to create a triangular, woven basket effect. Finished! Oh, a tip with this one: try to maintain the same pressure with the Nail Art pen to make sure that the lines look even. This just makes the design look a little bit tidier!
Georgie
"Do you have the time, to listen to me whine..."

