Friday, 5 September 2014

PlayStation


Hello there, nail lovers! Here's another design for all you geeks out there who still love their games consoles. I can still remember when I got my PlayStation One for Christmas when I was 6 years old - it served us well! So I guess this design is a nice little tribute. First, paint your nails black (I used Avon Nailwear in 'Rapid Black'), and allow to dry. Next, use either Nail Art pens or a very fine Nail brush to draw/paint the controller buttons. Tip: you will need several coats in order for the colours to stand out against the black, so build up thin layers. Finally, use a white Nail Art pen or a very fine Nail Brush for the 'L1' and 'R1' on your thumbs. And that's it - be sure to wear this design next time your PlayStation beckons...

Georgie

Thursday, 7 August 2014

The Fault in Our Stars


Hey there! Mahoosive apologies that it's all been pretty quiet on here but, with a ridiculous amount going on in my life (including my recent European adventure, which you can read about soon here), in recent months there's been little time for many posts. Anyway, as you may have guessed, this design was inspired by John Green's bestselling novel, 'The Fault in Our Stars'. I had actually painted these for when I went to see the film in June, but never got round to writing a post on it there and then. Oh well, here's what you do; paint your base colour in a blue that's ideally similar to the shade used on the novel cover - I used Avon Nailwear's 'On Point Blue'. Next, use a dotting tool to create a white cloud shape on one nail and then use black varnish for the other. Once these are completely dry, use a white Nail pen to write 'okay?' onto the black cloud. You can then write 'okay.' onto the white cloud with a black Nail pen, or try using a black gel pen to make it even easier - just don't forget to seal the design with a thin topcoat once the writing has dried. Finished!

Georgie

Tuesday, 8 April 2014

Film Reel


Why hello! Now, as I'm preparing to become a Film student again, and I just bloody love cinema, I thought it was about time I painted a design that represents just that. Oh, and seeing as Film and nails are two of the things that I blog about, it's actually the perfect design for combining the two! Oh, I feel clever now. Right, enough rambling, I'll tell you how I did it. First, paint your white base (I used OPI in 'Alpine Snow'). Then, on your last three fingers, carefully paint a gold film reel shape (my design features Avon Nailwear in 'Mod Gold'). Do a few coats of these, then wait to dry. Then, on the blank first finger, you need to draw a camera; use a black Nail pen to draw a rectangle, then a tiny triangle shape on the side. Next, draw three lines beneath and finally, two dots across the top with vertical lines connecting to the rectangle. Sorry, that part takes ages! After that, outline the gold film reel in black, then paint about  three vertical black stripes over the gold. Lastly, use a white Nail pen to draw a few tiny lines along the black outline, just to make it all stand out. Finished! Thanks for reading, have fun trying this one out :)

Georgie

Thursday, 3 April 2014

French Manicure (with a difference)


Bonjour, tout le monde! Forgive the introduction a la francais, but it's highly appropriate considering today's design. Oui oui, I'll be showing you how to do the classic French manicure - but of course, as it's me, it has to be a bit different and a bit weird. But weird is good, right? Anyway, let's get painting; first, choose a nice base colour for your nails - this particular design features Avon Nailwear in 'Savage'. Use a couple of coats and allow to dry. Then, using that steady hand, very carefully paint a pink 'smile' line along the top of your nail (yes, you guessed it - I used Avon Nailwear in 'Viva Pink'). If it's a bit wobbly, don't worry - this will get better with practice! About 2 coats should be enough. It's also inevitable that you'll get pink varnish on your fingers; just dip a cotton bud or small make up brush in nail varnish remover to carefully remove any excess varnish. Done that? Great, now your quirky French manicure should be looking good to go!

Georgie

Monday, 24 February 2014

Exciting news!

Evening, folks! No new design today, but just thought I'd let you all know some news! Yesterday my fab friend Sophie (check out her blog www.sophiesconscience.blogspot.co.uk) helped me to film my first ever Nail Art tutorial, and once we've sorted all the editing, it'll be ready to post! Yep, I'm really attempting to catch up with the world and actually get on YouTube, so keep a lookout for when that's uploaded...

Georgie

Monday, 17 February 2014

Riot! (Paramore)


Well hey there, readers! I never made any promises about when I was going to be posting next, so I'm not going to apologize for once again committing a little bit of blog neglect - it has been over a month since my last post, after all. Anyway, I'm back again now, so no need to worry ;) I've started to look at some new places for nail inspiration - beyond my shoes, travels, etc - and so I turned to my old friend, the trusty iPod. I thought perhaps some album artwork would do the trick - and this is what I came up with. Paramore fans, you should be excited. I will admit that it's not the neatest design that I've ever done - mind you, the artwork isn't either, so I guess it doesn't matter that much...anyway, want to know how to do it? I'll tell you; First, paint your nails white. Next, take your black Nail Art pen (I used my Models Own one, which is pretty good) and, with an incredibly steady hand, write each letter of 'RIOT!' all over each nail. It's meant to look a little messy so don't stress if it's not great - mine certainly isn't! Once these are all dry, paint a small dab of white in a similar shape to each respective letter over the top - do a couple of these. Then, using a red Nail Art Pen, write each letter again once over the white. Finished! Enjoy :)

Georgie

Basketcase


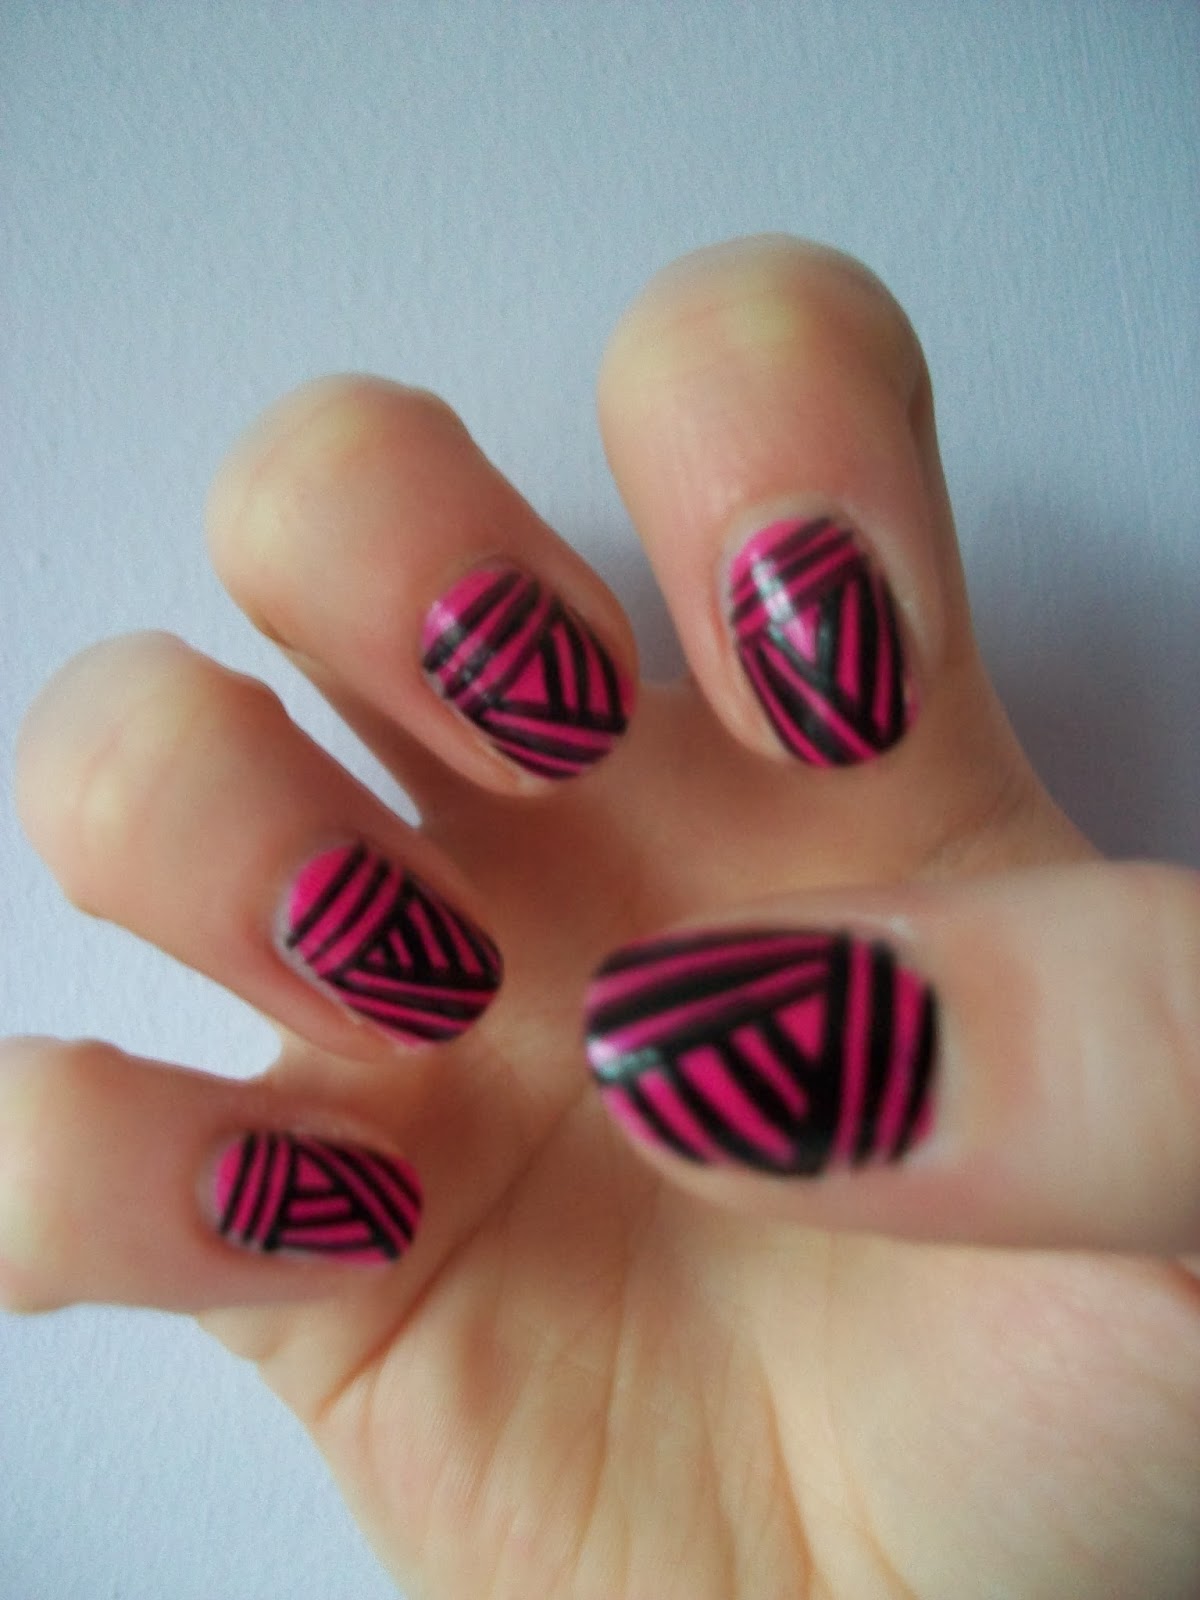
Hi there, readers! It's another attempt at a WAH Nails creation this time - 'Basketcase'. Now I don't know about you guys, but it automatically made me think of Green Day's song of the same name. Which is a much loved old favourite of mine, so this design is bringing back the nostalgia a little bit. So, this is what you need to do; paint your nails pretty much any colour you like - although I suggest you choose a relatively bright colour so that the basket weaves show up. I used my trusty Avon Nailwear in 'Viva Pink'. Next, using your black Nail art pen, start at the base of the nail and paint a slightly diagonal line from the left to the right side. Do three of these. Once dried, create three more lines but from the tip of the nail and at an almost right angle to the first set. Finally, paint three more lines in the gap to create a triangular, woven basket effect. Finished! Oh, a tip with this one: try to maintain the same pressure with the Nail Art pen to make sure that the lines look even. This just makes the design look a little bit tidier!

Georgie


"Do you have the time, to listen to me whine..."

Wednesday, 15 January 2014

New Nail Stuff!


Why hello there, readers! I decided to share some lovely new nail goodies with you all this week. Next post will be another design though - be patient! Anyway, first up are my new Models Own Nail Art pens in black and white. My nail pen collection was in desperate need of a restock, and as I've heard such rave reviews about these particular ones, I'm expecting great designs from them. I'll let you know what I think! 


The other little addition to my rather extensive collection of all things nails is this fabulous glitter kit that was kindly given to me free when I purchased the pens. And you never say no to free nail supplies! I don't normally use glitter much just as it takes so long to remove, but I'm still looking forward to trying this kit out. Also, the kit even comes with a really pretty pink polish - named 'Dinky Pinky' - which is always useful too! Check back soon for my next design :)

Georgie

Monday, 6 January 2014

Eyeballs


Happy New Year, folks! Wow, I can't quite believe that 2014 is well and truly here. Hope it's a good one for all of you. Anyway, welcome to my first post - and design - of 2014. I thought it was a little appropriate as quite a few people may have woken up after New Year's Eve with their eyes looking something like this. Some of you who might still be partying six days later may still have eyes like this. So, here's how to create the design yourself; start with a white base colour. Next, use a blue Nail Art pen to draw the iris (but feel free to use green, brown, purple etc.), and keep your hand steady in order to get a neat circle. Once this has dried completely, use a black Nail Art pen to draw the pupil over the top. After that part is dry, pop a tiny white dot over the pupil for the reflection spot - but make sure that the pen nib itself doesn't touch the nail. Finally, take your red Nail Art pen to draw blood vessels around the edge, working from the outside inwards. And there you have it! Give them a go, and keep watching for more designs to follow :)

Georgie